Tuesday 14 December 2010

Decorated Paper Bauble Tutorial

I have a wonderful group of Home Ed friends whom I meet up with “formally” at least every fortnight (and more if possible!!). It is just fantastic to have around me a group of (mostly) women (the odd time you can find a husband wandering around sheepishly among us) who are generous with their time and wisdom and company. 


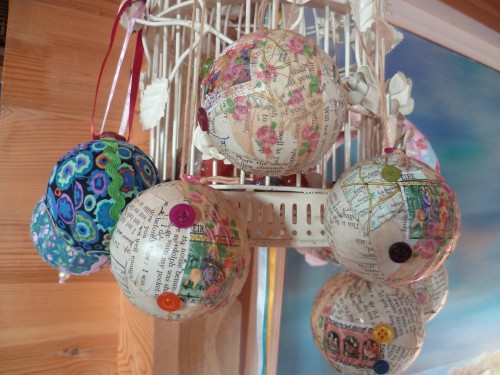
This week we were meeting up, and for many of us, we won’t get to meet again until January, so I made them a very small gift of thanks and Christmas blessing. These Christmas baubles are lovely and easy to make, and would be a great simple gift for kiddies to make too!

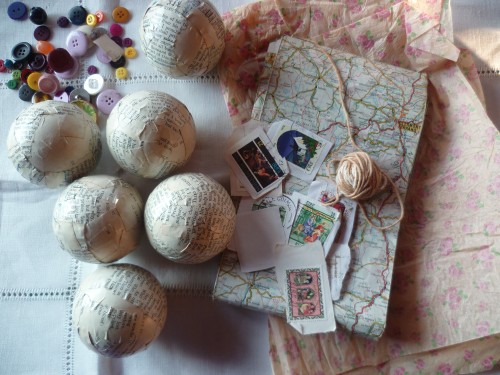
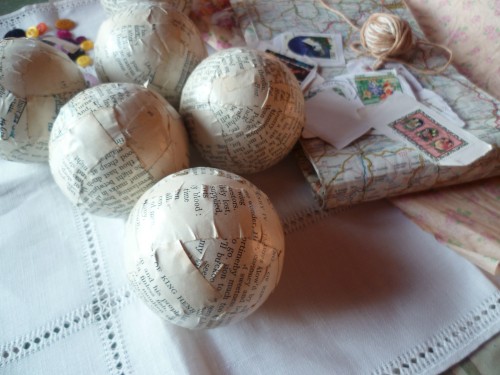
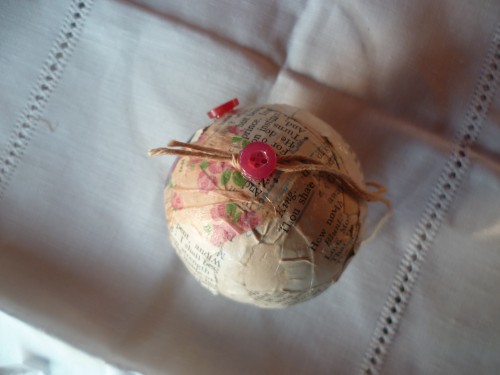
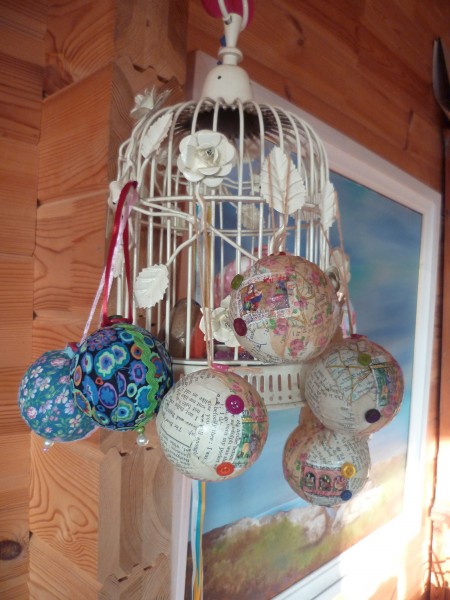
I covered polystyrene balls with strips of paper torn from a book with yellowed pages (“King Lear”, from the early 1970’s if we are to get technical!!) I glued the paper on with PVA glue- make sure to keep smoothing the paper down so any creases are flattened, I kept rubbing the glue on and it softens the paper and smoothes easily.

 
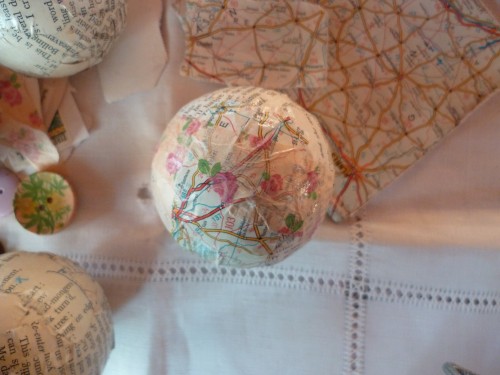
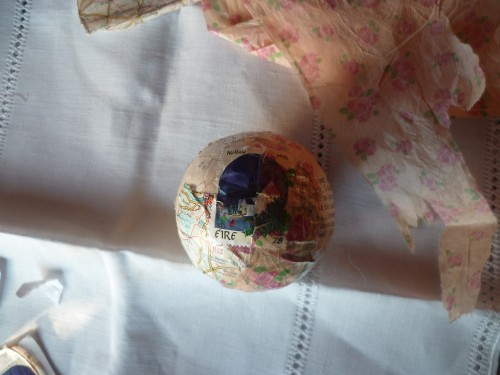
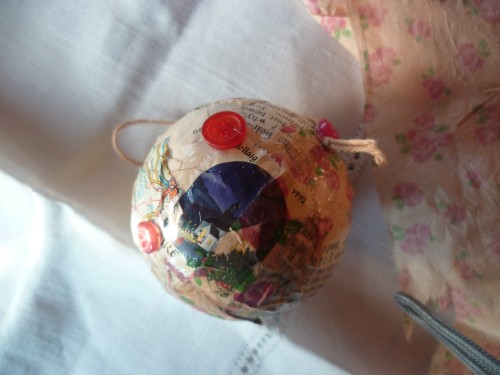
Onto the dry papered bauble, I stuck a 2” x 1” rectangle of an old map, then an old Irish Christmas stamp from the 1980’s. I had tea-dyed a sheet of rose- decorated tissue paper, and tore a strip of this which I glued partially on top (I covered all the collage-ed bits with a 50% PVA and 50% water mix. This glue mix gives coherence to your collage so the parts don’t look disparate in relation to each other)


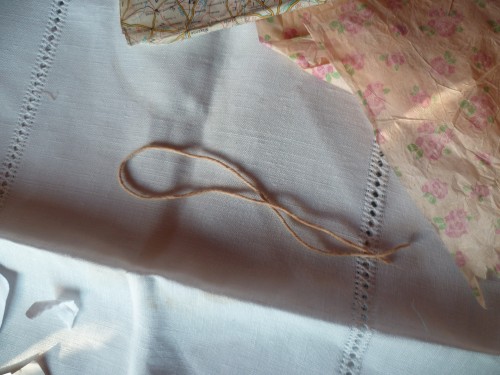
With my glue gun, I glued a piece of tea-dyed linen string, with a button on top to cover the glue.


I also added two more buttons onto the collage (I would have preferred to have had white or cream buttons, but had to make do with a rainbow of colours!)


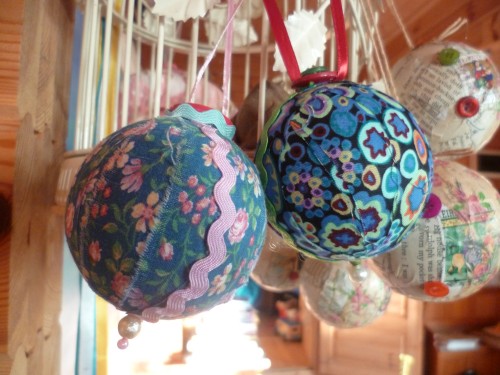
I also made a couple of fabric wrapped baubles,

also decorated with buttons, and some 
ric-rac and fabric ribbon. 
♥ ♥ ♥ Only 10 days to Christmas!!!!!!! ♥ ♥ ♥


Posted by Emily 
Thursday 9 December 2010

Papercut Church Tutorial

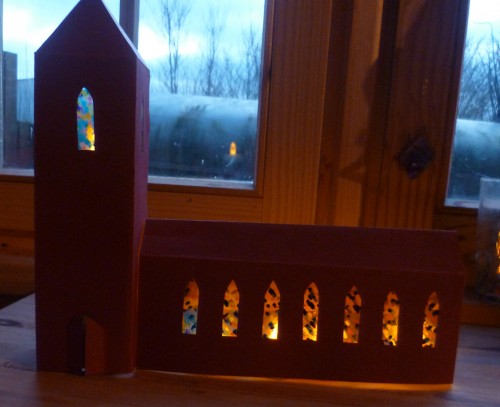
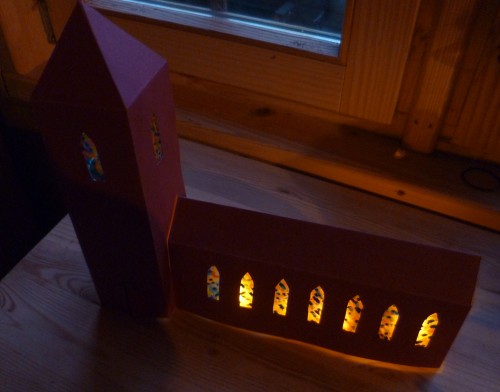
I wasn't quite sure what kind of tutorial I would do today... last night I had it in my head that I would do a tea cosy, but I will do that another day- today my time just expired, and I really wanted to make another papercut church to replace the one I made last year (I felt it was out of proportion to the rest of the houses I had made) and also I wanted to make "stained glass" windows to put into it.


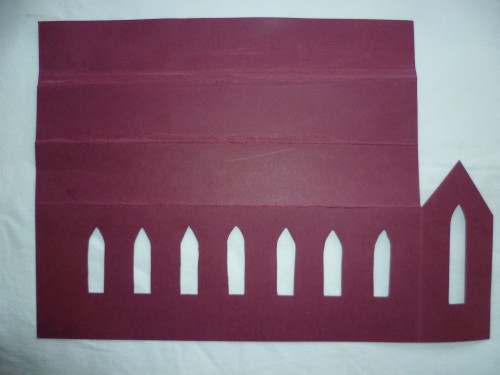
So, I decided to do a tutorial today, for the ninth of December, of a Papercut church. There are photographs at the end of this post that you could print out onto A4 card and use as instructed below. 

Materials:
Clear plastic (I used a see-through sheet of printable clear film and painted on the "matte" side)
Paint (I use watercolour dyes from here)
Glue (I use my (*wonderful*) glue gun)
Craft Knife for cutting out the church model
Cardboard for the church model (I used A4 size contruction card in a dark maroon- which was all I had at the time! But works beautifully)


The How To:
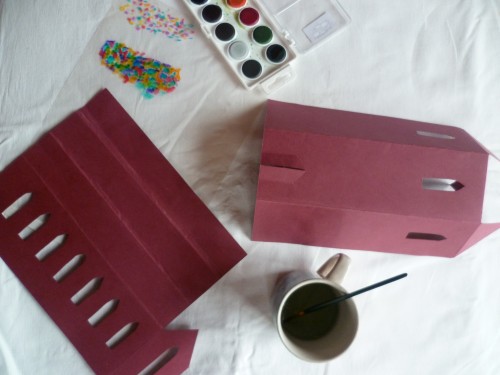
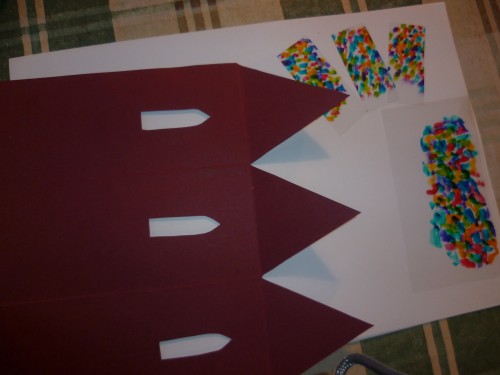
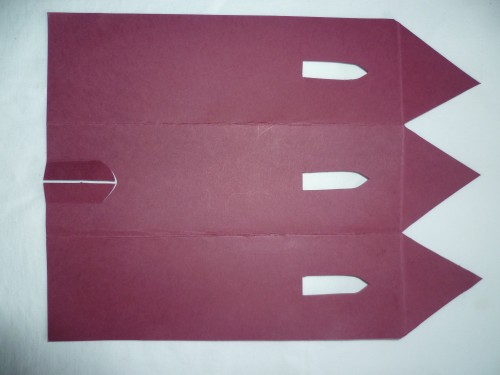
Cut out your model using a craft knife.
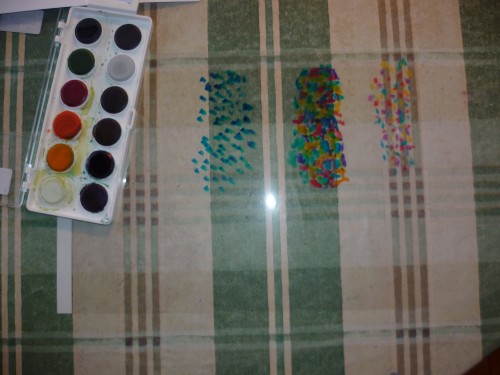
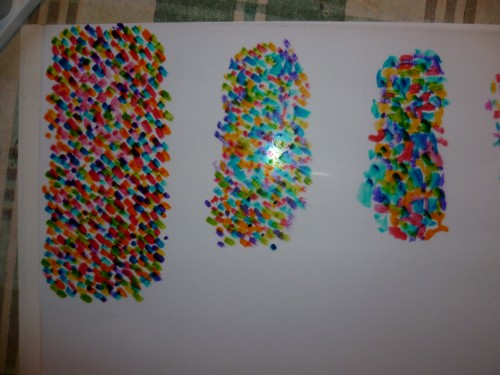
Paint panels of colour using dots of paint on the clear film


Cut rectangles of coloured film, measuring larger than the window


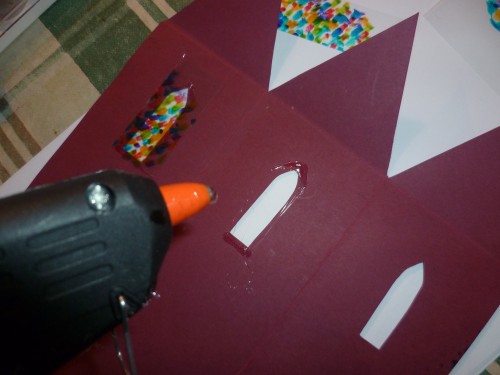
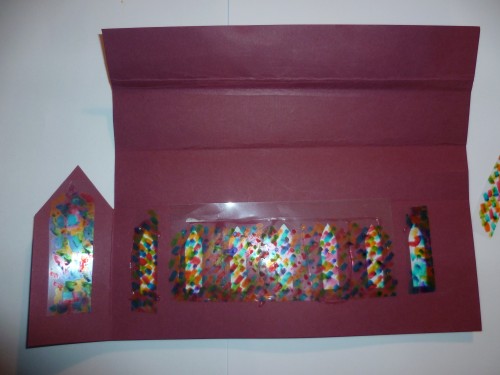
Glue around the window and stick down the film (if there is a shiny and matte side, have the shiny side facing out)


Assemble the church, with pieces of tape (I use sellotape so that I can carefully peel it off at the end of the Christmas season and store it flat for another year)


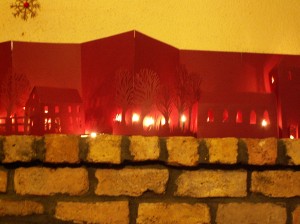
I put some battery operated candles inside (I know I don't need to tell you NOT to put in real candles!!)

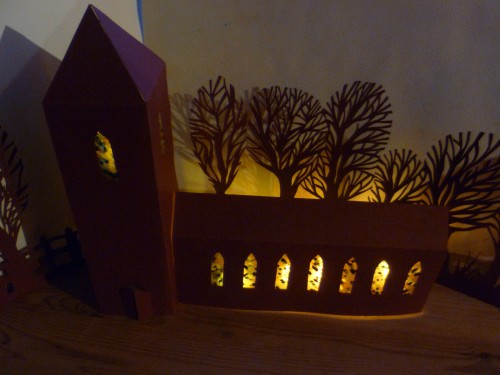
For aesthetic purposes, I set it up a vignette with some of the cut-out trees behind-
how pretty is that?


These are the templates for your church- photocopy the photographs onto A4 card and cut them out with a craft knife (or photocopy onto paper, draw around them onto card and then cut out)


(I welcome everyone to use these templates, but if you do, please link back to me here 
(and so I can see your beautiful interpretation!) :-) )

Posted by Emily 
Sunday 5 December 2010

The No-Sew Blanket


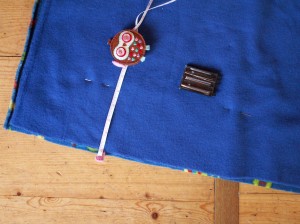
I’m still without my own camera, but Fergal got a loan of one for me, so I can do the final pictures of this incredibly easy No-Sew Blanket
(I got the how-to from this wonderful woman called Tammy last year, thank you Tammy! XXX)
This makes a very fast, easy gift, you could easily make it in an hour or two, and once it is cut, any child able to make a secure knot can be employed to help put it together!
(Apologies for the quality of the photo! But needs must etc etc)
The No-Sew Blanket
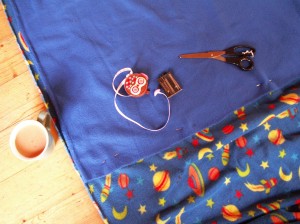
Materials: fleece material (I use two different patterns, or one plain and one pattern to make it easier to see when putting it together), sissors, pins, measuring tape (and the obligatory cup of tea)
The How-To:
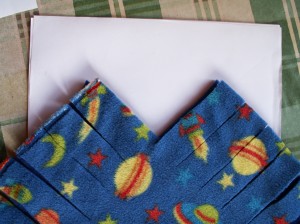
You cut 2 pieces of fleece the same size. Pin one side, approximately 5 inches in
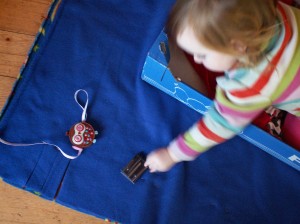
Make sure you have a child in a boat made from a vegetable box, sail over and try to steal your pins, and after that, cut into the fabric, 5 inches in, 1 inch apart, the whole length of the fabric, then repeat for each side.
For the corners, cut them out like this: (i.e. cut a 5″ x 5″ square from each corner)
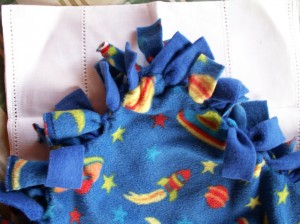
Once you have all the cuts made, start to knot (yes, just a knot!) around the sides. I tend to knot the middle of each side and corners first to hold it all together, 
then continue to knot, until all the strips are knotted together. Go back over each knot to secure, and and make sure the knot is tight (it is incredibly difficult to pull the knots out once they are tightly knotted)
This also makes a really great present for an older person, as a lap blanket, or for a small child as a buggy blanket. 
Make sure to buy enough fleece, because as soon as you have made one, due to the addictive, relaxing rhythm of the knotting, you are sure to want to make another!!
(Posted by Emily )
Wednesday 1 December 2010

The Incomplete Advent Calendar Tutorial

I thought I would do a tutorial on how to make a really gorgeous, incredibly easy, advent calendar, and post it here today for anyone who was having a little panic at not being ready for Advent when it arrived...

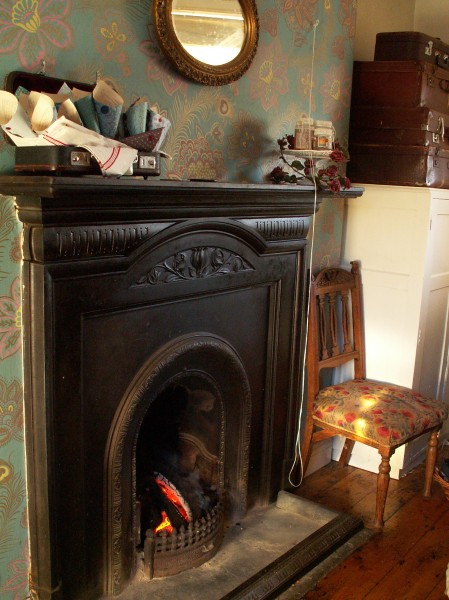
That was, until our smallest did a grab-and-run with the camera while I was teetering on top of a wobbly chair in from of an open fire... (having a solid chair and fire-guard would compromise on the spirit of adventure)... and dropped it :(

And now it is no longer with us. There isn’t as much as a flicker (apart from a disturbing consumptive-cough sound)
So, here is part 1 of the tutorial. When I sort out my camera issues, I’ll photograph the advent calendar in situ, but for now, I have the How-To, without the final pictures, but you will get the idea.
The How-To: Part 1:
What you need:

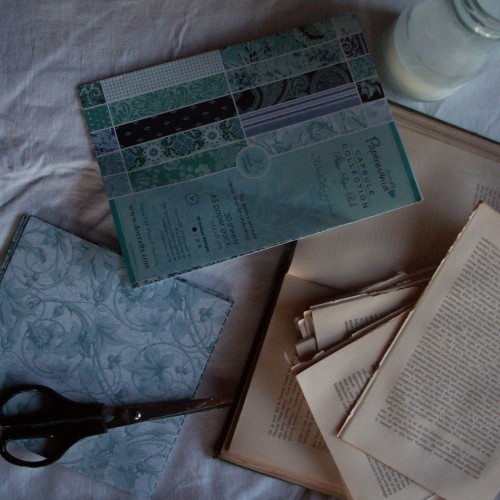
24 squares of decorative paper (you could cut out 24 squares from wrapping paper)
24 squares of old vintage book sheets(or music sheets- and if they aren’t yellowed with age, you could dip them in a strong tea solution and dry them out before using)
Pva (I diluted mine 50/50 with water in a jar)
Glue gun (not essential, but I recently purchased mine and it has been super for this project- instant glueing!)
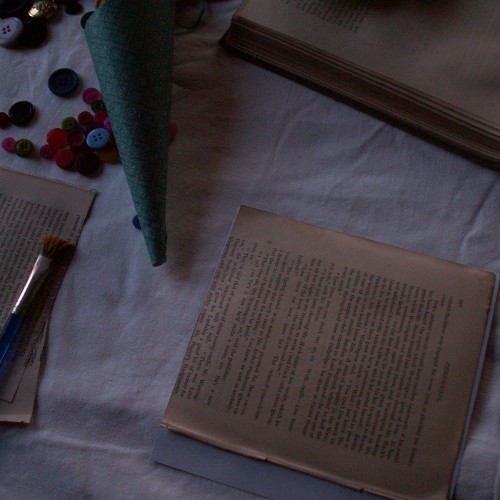
Buttons (or old lace or beads or other nice bits)
I squared these decorative sheets and so they (almost) matched the book sheets (it needs to be almost the size, but there is room for manoeuvre)
With the PVA solution, I glued the sheets together, making sure that at least one corner is exactly glued together (even if the other sides aren’t quite perfectly aligned)


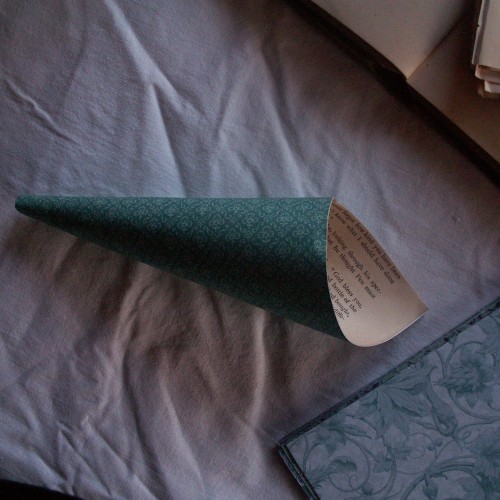
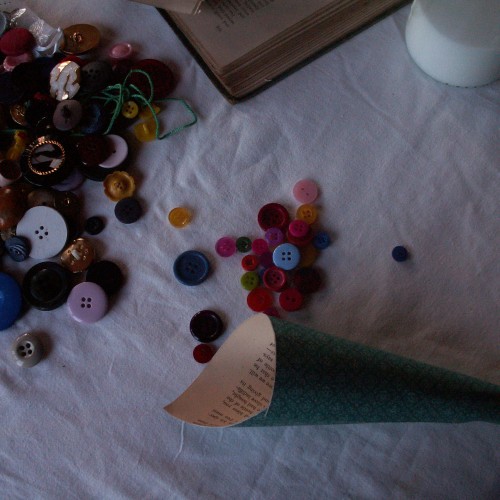
Then, when they were dry (once I had glued all 24 sheets, the first ones were dry and ready to go onto the next bit) I rolled them into a cone,

(You may have to experiment to get the cone looking right, with the matching corner pieces sticking uppermost)


I used my (wonderful, brilliant, time saving) glue gun to glue down the “seam” of the cones,


and glued on the button(s)


(You could sew them together with a simple running stitch, or use a strong glue and hold in place for a couple of minutes until they are dry- or! have some clothes pegs at the ready, glue, then peg them and move onto the next one, and the peg should hold them in place until glued firmly)
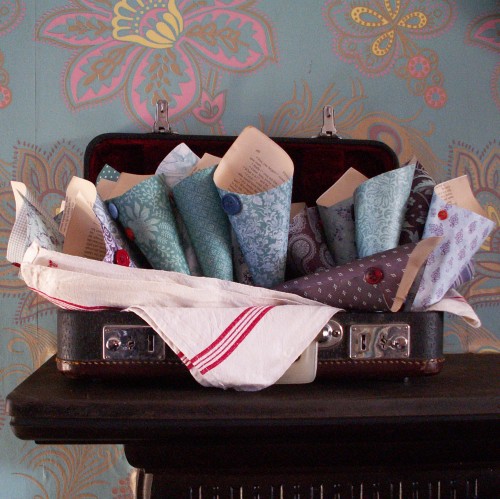
Then! Put in a very lovely little suitcase lined with some vintage, linen, monogrammed cloth and wait for your child to break your camera, halt the tutorial until you can take more photographs for the next part.

The Next Part: Part 2: Coming Up!

I wrote out the numbers 1-24, then, with some old pegs, pegged each cone onto a piece of string and strung above the mantlepiece. Not rocket science, but very pretty, as you WILL see!!